How to Assemble Graco Stroller?
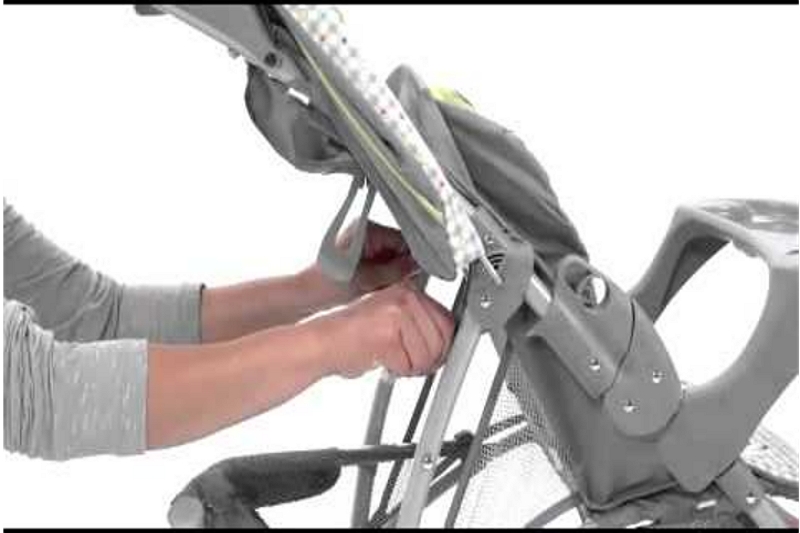
To assemble a Graco stroller, first unfold the stroller frame. Next, locate the two circular tubes near the back of the stroller – these will be used to attach the back wheels. Take the left wheel and insert it into the left tube, then do the same with the right wheel and right tube.
Finally, snap on the plastic canopy and you’re ready to go!
- Unfold the stroller frame and snap the legs into place
- Attach the seat to the stroller frame
- Connect the sun canopy to the stroller frame
- Click the wheels onto the stroller axles
- Fold down the stroller handle and lock it into place
How to Assemble a Graco Stroller After Washing
If you’re like most parents, you want to keep your baby’s stroller clean and fresh. But when it comes to cleaning a stroller, there’s more to consider than just wiping it down with a wet cloth. You need to be sure to disassemble the stroller properly before washing it, otherwise you risk damaging the delicate parts.
Here’s a step-by-step guide on how to disassemble and then reassemble a Graco stroller after washing:
1. First, remove the canopy from the frame of the stroller. To do this, simply unclip the two buttons that hold it in place at the top of the frame.
2. Next, take off the seat cushion by unzipping it from the back of the seat. Set aside all removable parts such as these in a safe place where they won’t get lost or damaged while you’re washing the rest of the stroller.
3. With those two main parts removed, you should now be able to easily fold up the stroller frame for storage or transport.
If your model has wheels, make sure they are locked in place before folding so that they don’t accidentally come loose and cause damage.
4. Now it’s time to tackle washing all of those separate parts! The best way to do this is by hand using mild soap and warm water; avoid putting any plastic or metal pieces in the dishwasher as this could cause warping or other damage over time.
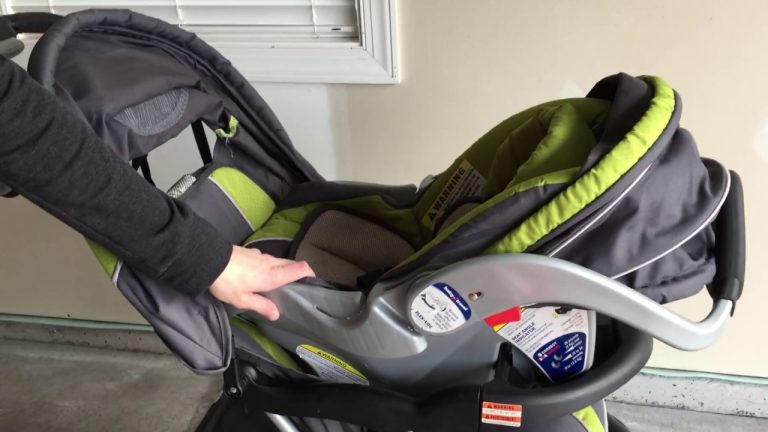
How Do You Connect Graco Stroller to Car Seat?
Assuming you would like a blog post on how to connect a Graco car seat to a stroller:
Most Graco car seats and strollers can be easily connected using the company’s Click Connect system. This system uses an audible click to let you know that the car seat is properly attached to the stroller.
To use it, simply line up the connectors on the car seat with those on the stroller and push down until you hear the click. Once you’ve done this, your child’s car seat will be securely fastened to the stroller, making it easy to transport them from place to place.
If you’re having trouble connecting your Graco car seat to the stroller, there are a few things you can try.
First, make sure that both the car seat and stroller are properly aligned. The connectors on both should be lined up before you attempt to push them together. If they’re not aligned correctly, it may be difficult or impossible to get them to connect.
Another thing to check is whether or not the connectors are locked into place. On some models of Graco car seats and strollers, there is a small lever or switch that must be in the correct position before the connection can be made. Make sure that this lever is in the “unlock” position before attempting to connect the two pieces of equipment.
If you’re still having trouble connecting your Graco car seat and stroller, contact customer service for assistance.
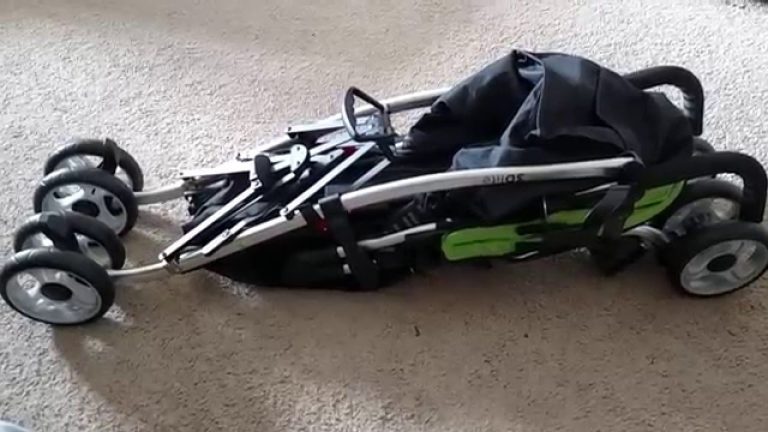
How Do You Put the Back Wheel on a Graco Stroller?
Assuming you have the stroller frame and just need to attach the back wheel:
1. Lay the stroller on its side with the front wheels pointing up. If your stroller has a release lever for the front wheels, make sure it is in the “locked” position so that the front wheels don’t come off while you’re working.
2. Line up the axle of the back wheel with one of the attachment points on the stroller frame. The axle will usually have a groove or notch that fits over a metal pin on the frame.
3. Push the axle into place until it clicks or locks into place.
4. Repeat for other back wheel.
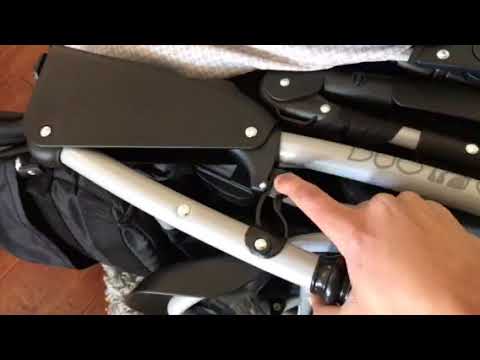
How Do You Take Apart a Graco Click Connect Stroller?
Assuming you would like a step-by-step guide on how to take apart a Graco Click Connect stroller: To start, unscrew the front wheel axle using a Phillips screwdriver. After the front wheels are off, locate the two silver screws on either side of the stroller frame near the bottom and remove them.
These screws hold the click connect base in place. With these screws removed, you should be able to wiggle and pull the base away from the frame. Be careful not to lose the small black plastic piece that is attached to one of these screws, as this is what keeps the stroller’s shade canopy in place.
Next, locate the black plastic knob at the top of the stroller handle and unscrew it using your fingers or a flat head screwdriver. This will release the handle from its locked position. Once released, you can pull up on the handle until it comes completely off of the stroller frame.
The final pieces to remove are the two metal rods that connect each of three wheels to their appropriate spot on the rear of the stroller frame. To do this, first push down one end of the rod until it disconnects from its slot in the frame(you may need to use the tip of a flat head screw driver to do this). Do this for both metal rods on the same side of the stroller be fo removing on to the next side and repeating the process until you have removed all six rods pieces from their slots in total.
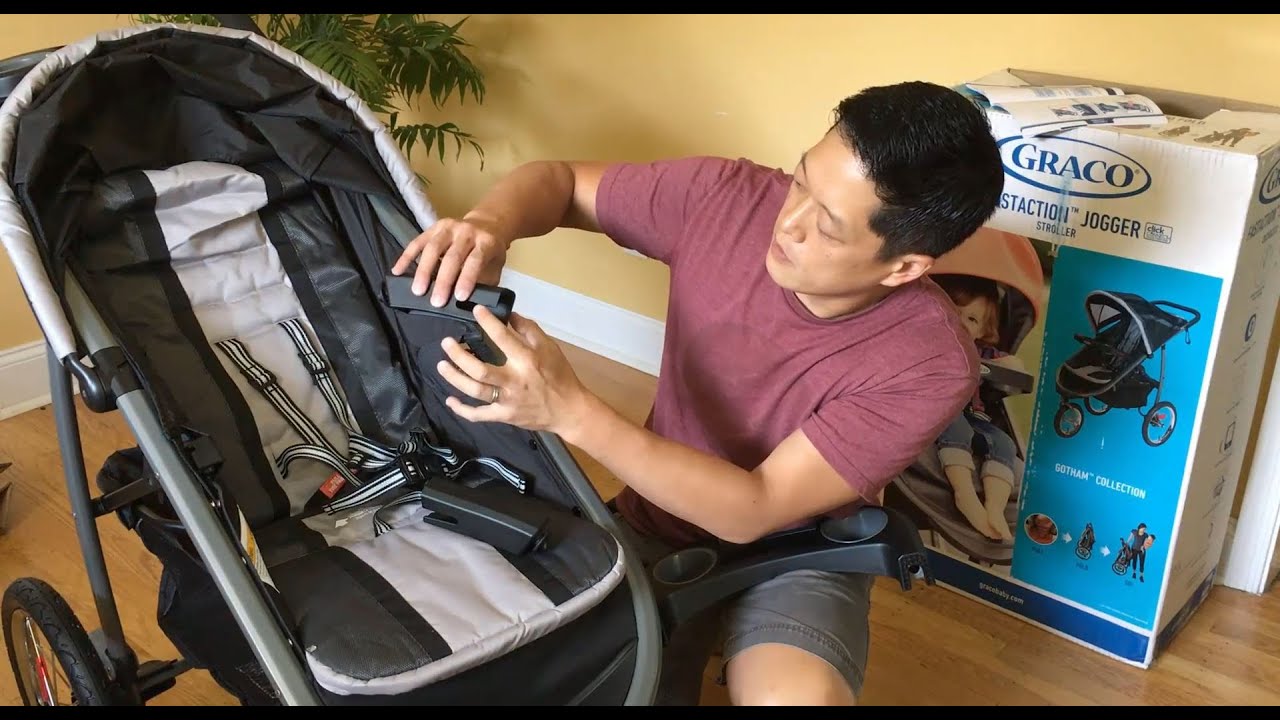
How Do You Set Up a Graco Stroller?
Assuming you would like a blog post discussing the steps to setting up a Graco stroller: If you’re looking for an easy, lightweight stroller that won’t break the bank, a Graco is a great option. Setting it up is quick and simple, and in just a few minutes you’ll be ready to go.
Here’s what you need to do:
1. Unfold the stroller frame and lock it into place. Make sure that the front wheels are in the unlocked position.
2. Snap the seat onto the frame – there are two clips on either side that will click when it’s in place.
3. Adjust the seat back to your desired recline angle – there are three positions to choose from. To put it into the fully upright position, make sure that both red buttons are engaged.
4. If you’re using the stroller with an infant car seat, remove the adapter bars from their storage location on either side of the seat (underneath where your child would sit). Place them on top of each wheelbase, then clip them into place on either side of the seat backrest supports. Once they’re secure, slide your car seat onto the adapters and snap it in place according to your carseat’s instructions.
Make sure that both red buttons on the adapter bars are engaged before folding down the stroller’s canopy – this will provide extra support for your infant during travel 5 6 Finally, extend and adjust the canopy as desired to shield your little one from sun or rain (or both!). You’re now ready to hit the road with your Graco stroller.
NEW 2021 Graco Modes Element Travel System With Infant Car Seat|Installation|Assembly|Best Stroller
Conclusion
Overall, assembling a Graco stroller is a relatively straightforward process that can be completed in just a few steps. It is important to read the instructions carefully to ensure that the stroller is assembled properly. Additionally, make sure to check all parts and screws to ensure that everything is tightened and nothing is missing. With the right tools and a bit of patience, you can easily assemble a Graco stroller and have it ready for use.